Get Started with Trashmails Script
Welcome to the Trashmails Script documentation! This guide is designed to help you seamlessly install and configure the script, ensuring you get the most out of its features. Whether you're a beginner or an experienced user, this documentation has everything you need to get started.
We’ve made the process as simple as possible, so you can focus on what matters most—using the script to its full potential. If you ever need assistance, our support team is just a message away.
For quick and exclusive support, reach out to us on Telegram. Our team is ready to help you with any questions or issues you may encounter.
Installation Requirements
Before installing Trashmails Script, ensure your server meets the minimum requirements. The installer will automatically check for compatibility, but you can also verify these manually or contact your hosting provider for assistance.
Server Requirements
- PHP 8.2 - 8.3
- Web Server: Apache / Nginx
- Database: MySQL 5.7+
- Mail Server With Catch-All function
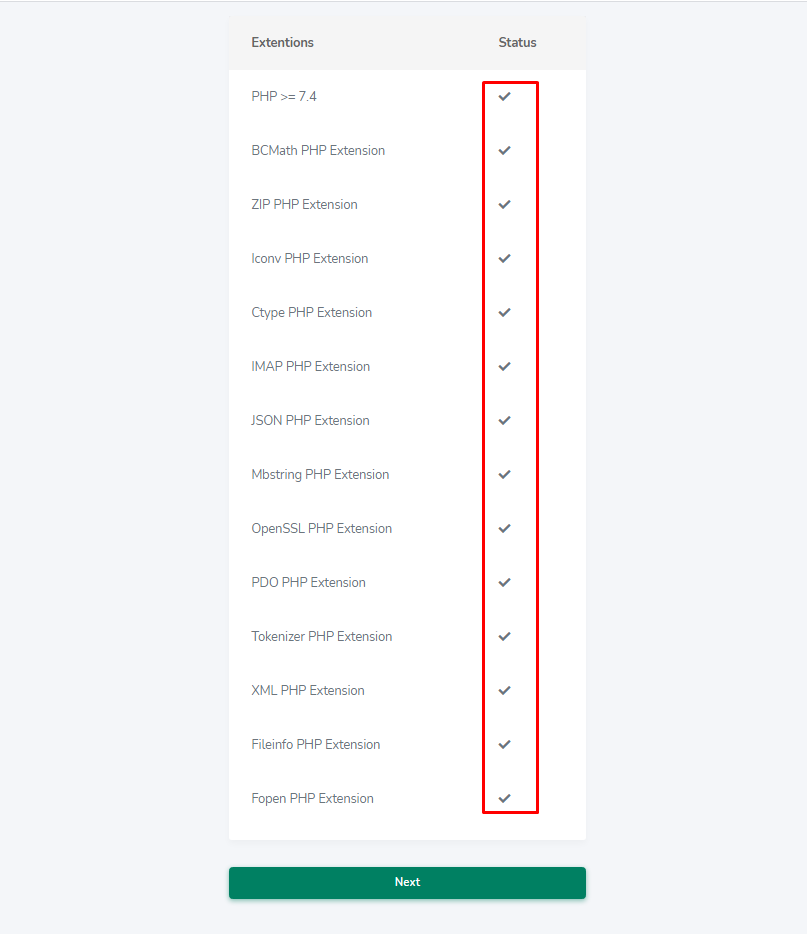
Required PHP Extensions
- BCMath
- Ctype
- Fileinfo
- JSON
- Mbstring
- OpenSSL
- cURL
- PDO
- Tokenizer
- ZIP
- Iconv
- IMAP
- Fopen
- GD
Professional Installation Services
Don’t want to deal with the hassle of installation? Let us handle it for you! Our expert team offers fast, reliable, and affordable installation services to get your Trashmails Script up and running smoothly. Focus on your goals while we take care of the technical details.
Software Installation
25$ 49$
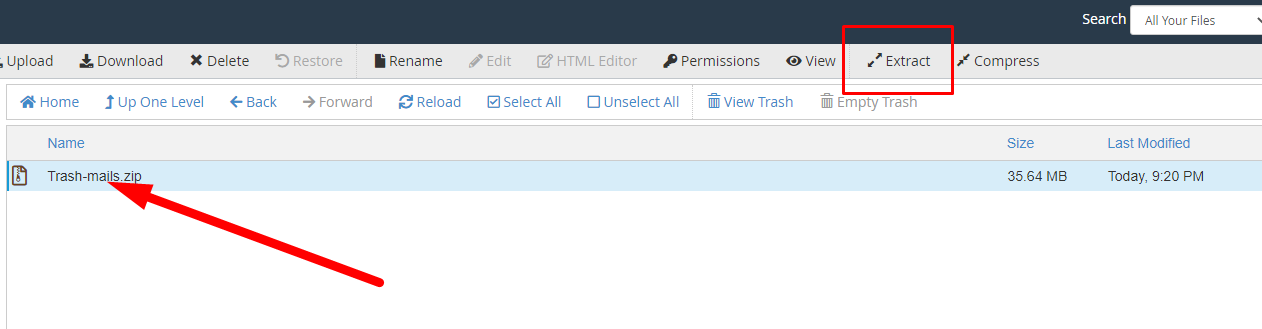
- Upload product files to your server
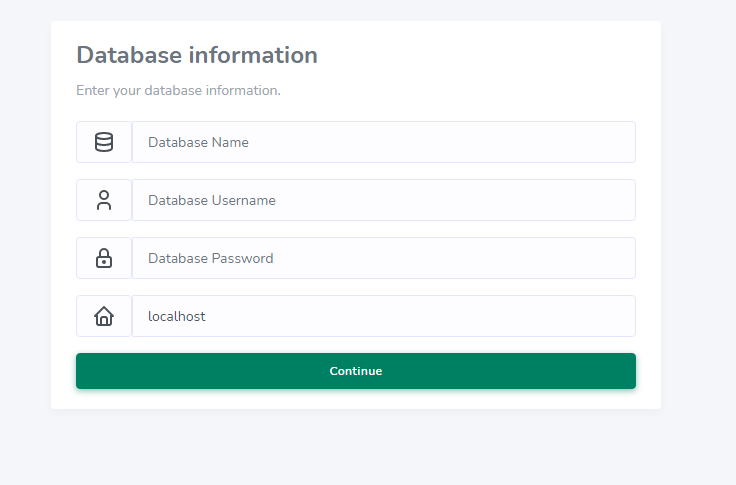
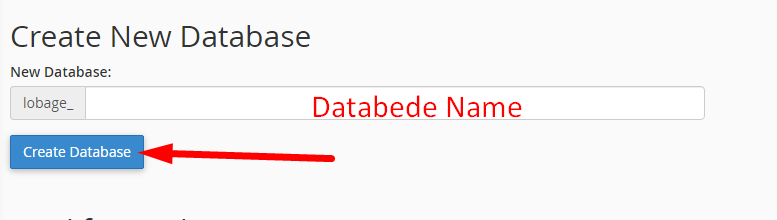
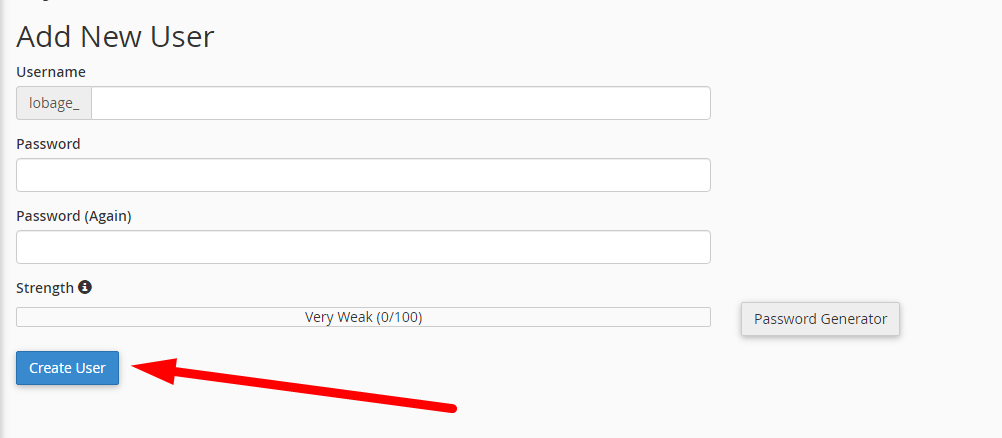
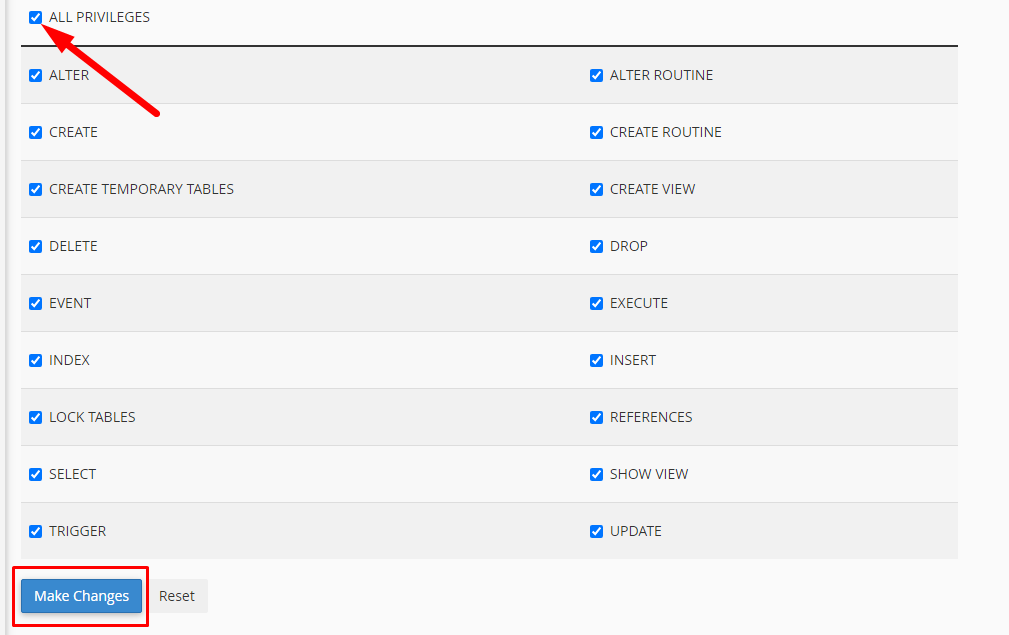
- Create and configure the database
- Full installation of the product
- Requires a pre-configured server (cPanel, Plesk, etc.)
Product Update
25$ 49$
- Backup files and database (upon request)
- Update to the latest version
- Update all plugins (if applicable)
- Custom modifications not included
Custom Theme & Addons
$$$
- Custom theme design OR Addon
- Seamless integration
- Custom documentation (if needed)
- 1 Month of free support
🔥 Hurry! This Limited-Time Mega Discount Won’t Last Forever! 🔥
✔️ Fast Response | ✔️ Secure Setup | ✔️ 100% Satisfaction
Not sure which service is right for you? Contact us for a free consultation!
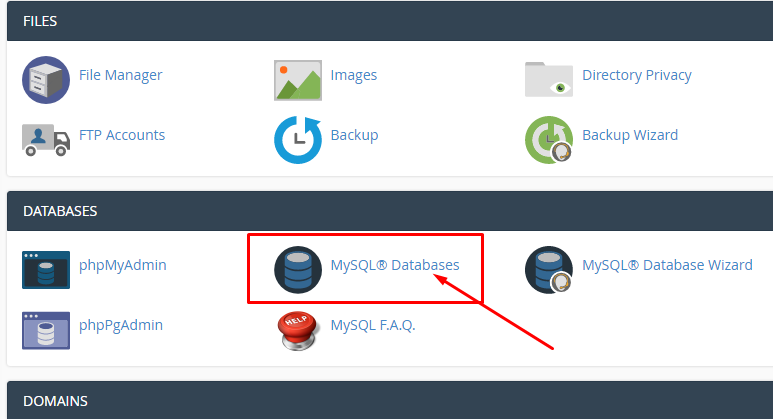
Installation
Set Up Your Mail
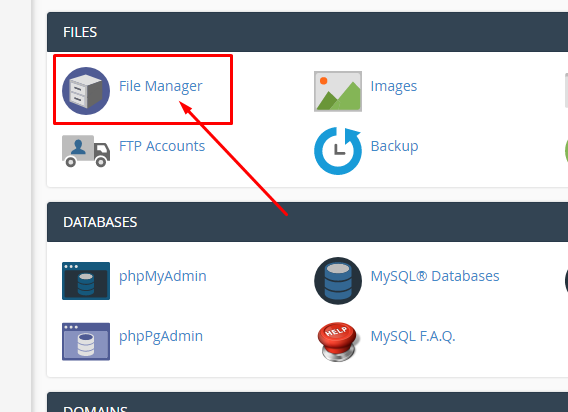
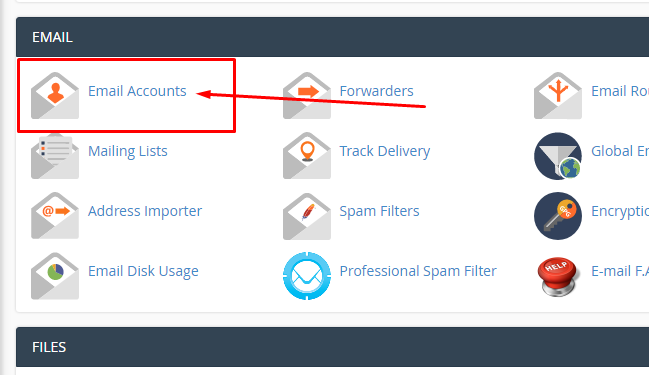
Go to your cPanel -> Email Accounts

Click Create

Select your domain and enter username and password (ex : [email protected] , [email protected] .... )
Go to your cPanel -> Email Accounts
Than click Check Your Email
Open Your Email
You will see a default Message from cPanel
Now send a test message to your email to check if your mail server is working or not
Go to your cPanel -> Email Accounts
Than click Connect Devices
You will See SMTP / IMAP details
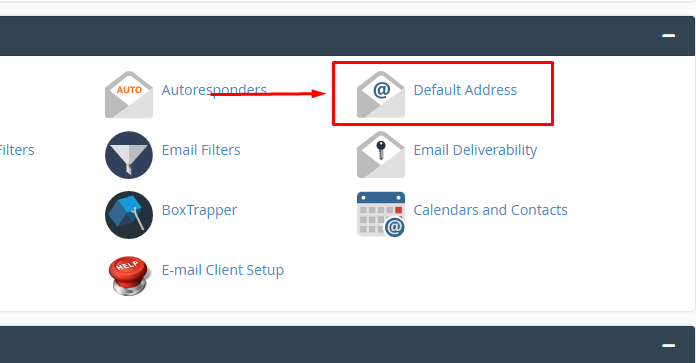
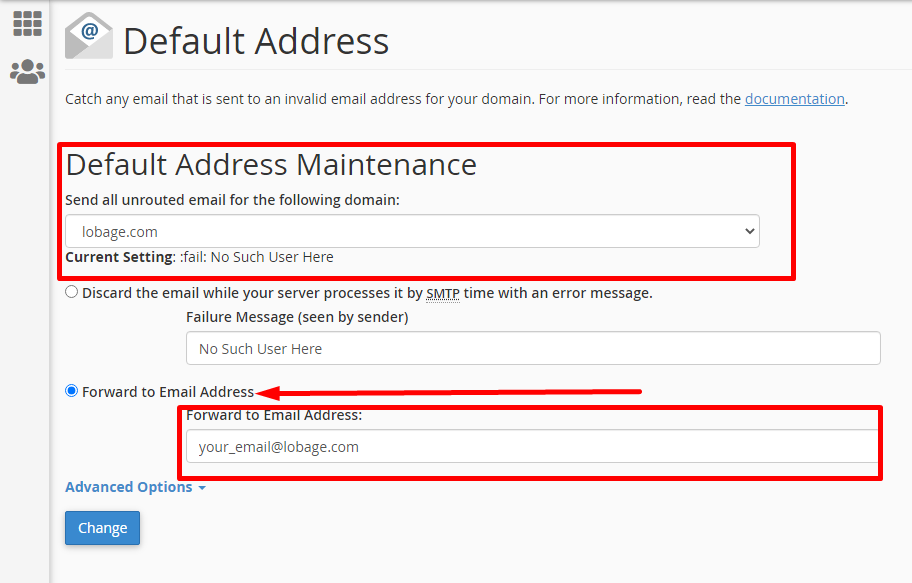
Go to your cPanel -> Default address (Catch-All)

Choose the domain you want to add on the site And Put last Email you created

You can repeat the same for multiple domains.
Admin Settings
Go to Admin -> Settings -> General Settings
Go to Admin -> Settings -> Advanced Settings
Go to Admin -> Settings -> SMTP Settings Enter your details and test it.
Go to Admin -> Settings -> Languages

Go to Admin -> Domains
Add a new domain and click Save
Go to Admin -> Themes

You can change the theme appearance
Go to Admin -> Settings -> Appearance
You can change the colors of the admin and user panels

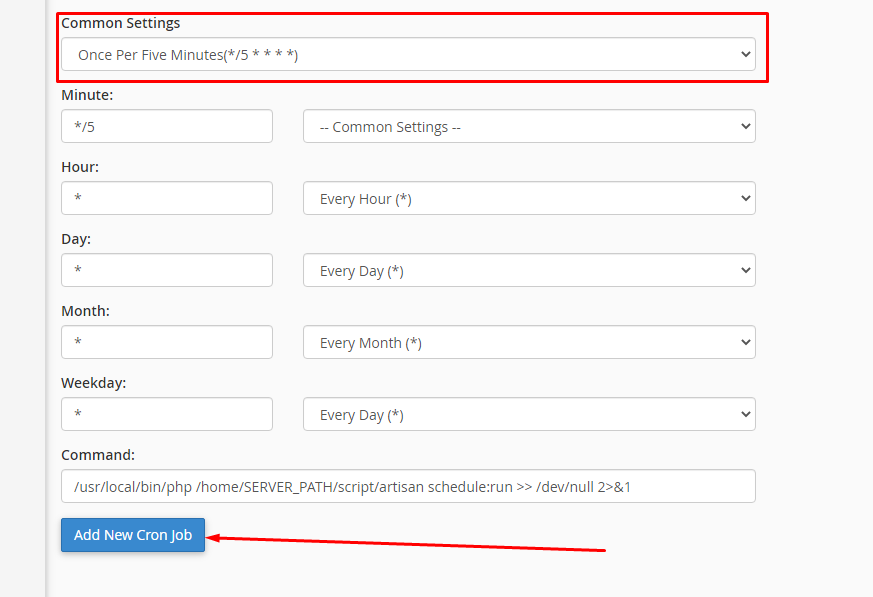
Go to Admin -> Settings -> Cron Job
Copy the command and go to your cPanel Cron Job

Select Once Per Minute(* * * * *) And Put The Command
Plugins
- Go to hCaptcha and create/login to your account.
- Go to Add New Site and fill in the required details.
- After submitting your new site, go to the sites page, select the newly added site and click on Settings.
- Copy the Site key and paste it in the plugin
- Go to hCaptcha settings.
- Copy the Secret key and paste it in the plugin
- Save your new settings
- Go to your Admin Panel -> Settings -> Captcha page.
- Set the captcha type to hCaptcha.
- Go to Recaptcha Admin Panel and Login to your Google account.
- select Challenge (v2) Than select the reCAPTCHA v2 type
- Fill in the other needed details from the form.
- Copy the Site Key and Secret Key and paste them in the plugin.
- Save your new settings
- Go to your Admin Panel -> Settings -> Captcha page.
- Set the captcha type to Google ReCaptcha.
- Go to Recaptcha Admin Panel and Login to your Google account.
- select Challenge (v2) Than select the reCAPTCHA Invisible type
- Fill in the other needed details from the form.
- Copy the Site Key and Secret Key and paste them in the plugin.
- Save your new settings
- Go to the Facebook Developers page and log in.
- In the top-right of the Facebook Developer page, select My Apps.
- In the top-right, select Create App. You'll be redirected to the Create an app process.
- In the App details step, fill out the necessary information and select Next.
- In the Use Cases step, select Authenticate and request data from users with Facebook Login and then select Next.
- In the Business step, select the business portfolio to connect to your app and then select Next.
- In the Finalize step, select Go to dashboard. You'll be redirected to the app's Dashboard page.
- In the left sidebar, select Use cases.
- Next to Authenticate and request data from users with Facebook Login, select Customize. You'll be redirected to the Permissions tab of the Customize use case page.
- Next to email, select Add
- In the left sidebar, under Facebook Login, select Settings.
- In the Client OAuth settings section, in the Valid OAuth Redirect URIs
- Enter your Callback URL in this format:
https://yourdomain.com/auth/facebook/callback(replaceyourdomain.comwith your actual domain). - Select Save changes.
- In the left sidebar, select App settings (hover over the settings icon to view the title or expand the menu), and then select Basic.
- Copy the App ID and App Secret and store them securely.
- Go to your website’s Admin Panel, navigate to Plugins → Facebook Login, and enter the copied App ID and App Secret.
- Than save the settings.
- Future configuration & review of the created Facebook app is fully up to you from now on.
- Navigate to the Google Developers Console page.
- Sign in with your Google account.
- Select a project or create a new one. You'll be redirected to your project's Dashboard page.
- In the top-left, select the menu icon (≡) and select APIs & Services. Then, select Credentials.
- Go to the OAuth consent screen section from the left sidebar.
- Select External under User Type and click Create.
- Fill in the necessary details about your app (like name, logo, and email), then click Save and Continue.
- Under the Scopes section, make sure to add userinfo.email and userinfo.profile scopes, then click Save and Continue.
- Complete the Test Users section (you can add your email here for testing), then click Save and Continue.
- Go to the Credentials section from the left sidebar.
- Click Create Credentials and select OAuth Client ID.
- Choose the Web application option for the application type.
- Under Authorized redirect URIs, add your website’s login URL in this format:
https://yourdomain.com/auth/goole/callback. - Click Create to generate your OAuth credentials.
- Copy the Client ID and Client Secret for later use.
- Head to your website’s Admin Panel → Plugins → Google Login tab.
- Enter the Client ID and Client Secret you copied earlier into the respective fields.
- Than save the settings.
- The configuration of your Google app can be updated or reviewed later in the Google Developers Console.